Setting Yourself Up for a Happy, Healthy School Year

Setting Yourself Up
For A Happy, Healthy School Year

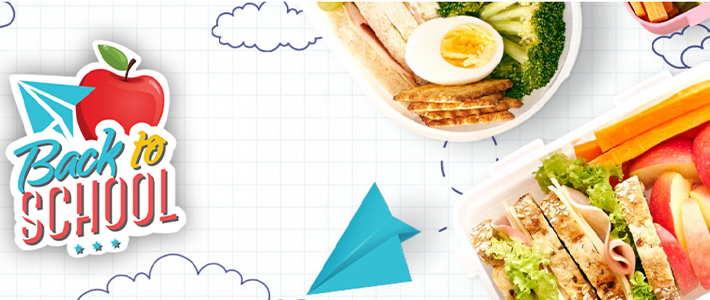
Believe it or not, the school year is already right around the corner! And a new school year means busy schedules. Homework, sports, and carpooling take over your mental space – and it’s overwhelming! Plus, those aren’t the only concerns to juggle. You’re probably also thinking about how to provide your child with nutritious lunches. Which is easier said than done with how hectic this time of year gets. But with a little preparation before school resumes, you and your child can hit the ground running for a health-filled school year!

What does a nutritious lunch look like? 

The MyPlate guidelines are a great tool for navigating how to structure your child’s meal. It may seem strange because you’re packing a lunchbox, not serving a plate. But MyPlate provides the perfect structure for your child’s lunch. Half of the “plate” should be fruits and veggies, with the other half split between protein and grains. And don’t forget the one cup of dairy that goes with the meal as well!

Check out our dietitian approved “Build a Better Lunchbox” ideas under resources on our Dietitian’s Corner website.

Fuel Stations

A fuel station for your home is just like a fuel station for your car – a one stop shop for filling up the tank with energy! But unlike cars, humans use food for fuel. Which means that our fuel stations are in places like the refrigerator and pantry. Fill a bin, basket, or platter with a variety of fruits, vegetables, crackers, popcorn, cheese or other food items. These stations can be geared towards after-school snacks, or options to pack with lunch. They are a fantastic way to keep things organized and give your children the opportunity to choose their foods.

Try labeling your bins and baskets in a way that helps your child understand how to put together his or her own lunch! For example, keep a bin of various dairy items such as yogurt and cheese in your refrigerator. Label the bin with “choose 1”. Then your child can make his or her choice for their lunch! You can do the same with fruits, veggies, and grains like crackers or popcorn.

The Benefits of Fuel Stations

Fuel stations are particularly effective for nourishing your child because having the ability to choose their own food builds independence and confidence. While a parent’s job is to provide nourishing food, the child’s job is to decide what and how much they will eat. When your child takes ownership of their snacks and school lunches, they are more likely to eat them!

Some of our Favorite Foods to Have On Hand For the School Year:

  • String cheese
  • Low sodium lunch meats
  • Whole grain crackers
  • Whole grain bread
  • Popcorn snack packs
  • Fruit
  • Veggies (especially snack packs!)
  • Nuts
  • Whole grain tortillas
  • Nut butters
  • Low sugar yogurt cups

Be on the lookout for our Dietitian’s Choice shelf tag when you’re shopping for school lunches and snacks! This tag identifies food items with less added sugar, sodium, and saturated fat. Which helps you to feel confident that you’re providing nutritious food options for your child. Your Registered Dietitians wish you a happy and healthy new school year!

– Jess, MPPD, RDN, LD

Ask A Dietitian

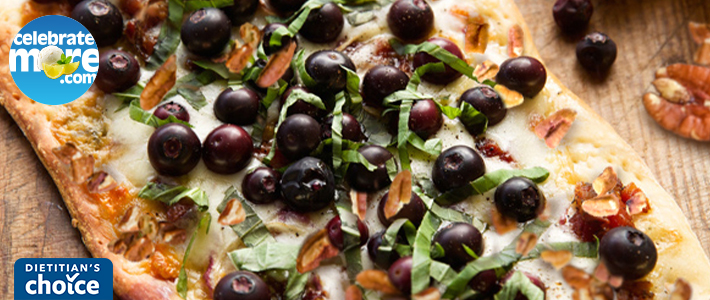
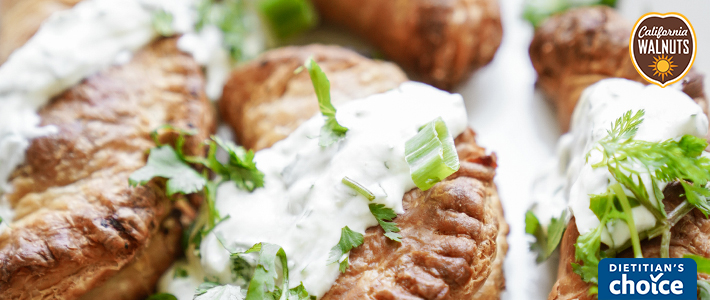
Savory Blueberry Pecan Flatbread

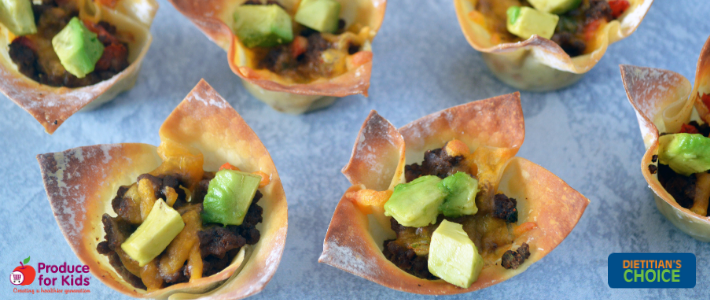
Wonton Taco Cups

Food Safety Tips for Summer

Summer Food Safety Tips

Can you believe it’s already July? Summers here in the Midwest fly by, and that means spending as much time outdoors as possible. It’s important to enjoy the sunshine and warmth while we can! Which includes picnics and outdoor barbecues. However, the warm climate also creates the perfect opportunity for harmful foodborne bacteria to thrive. Follow these tips to keep your family and friends safe from foodborne illness this summer!


But first, understanding the “Temperature Danger Zone”

The temperature of your food is closely related to how safe it is to eat. Illness-causing bacteria multiply at high rates between the temperatures of 41F and 135F, which is why we call that range the “Temperature Danger Zone”. The goal is to keep hot foods hot and cold foods cold; the latter being particularly important in the warm summer months. Be aware of foods that need temperature control for safety, which include meats, dairy products, cut fruits, and cut vegetables.

Tip 1: Keep an eye on the clock

Make note of what time you put food out for your outdoor gathering. All perishable foods, hot or cold, should be consumed within two hours of sitting out. That rule of thumb changes to one hour if the temperatures are 90F+.

Tip 2: Have more than one cooler

In July, coolers are a lifesaver for keeping cold foods cold. They are most effective if kept in the shade and opened as few times as possible. This means that having a cooler designated for drinks is key! Who doesn’t want an ice-cold drink on a hot July day? The more you open the cooler, the faster the temperature will rise inside. Having two separate coolers means enjoying your beverages throughout the event, while also keeping your food safely chilled.

Tip 3: Grill to the safe internal temperature

The grill takes center stage during the summer months, and temperatures are important in the cooking process as well. One of the most important tools for grilling is a meat thermometer! Grilled meats tend to turn dark and appear done on the outside quickly, but it’s important to check the internal temperature to ensure that your protein is safe to eat. Follow this chart to determine doneness:

Fish                                                      145 °F
Steaks, roasts and chops                      145 °F
Hamburgers (ground beef/pork)             160 °F. 
All poultry                                              165 °F 
Fully cooked meats (hot dogs, ham)       165 °F 

Serve your hot grilled items as soon as they are ready! 

Tip 4: Separate raw from cooked

Bacteria can spread from one food to another, so it’s best to keep your raw meats separate from everything else. Have two plates and two sets of utensils on hand. Have a plate and utensils designated for handling raw meat. Once fully cooked, use a new set of utensils to transfer the meat onto a clean plate or platter. If you are using a marinade prior to grilling, always throw the leftover marinade away. It cannot be used again once the raw meat touches it!

Take full advantage of the warmth and sunshine in these summer months! But don’t forget the importance of keeping the food safe for you and your loved ones. We wish you a happy and healthy summer season!


– Jess, MPPD, RDN, LD
Ask A Dietitian

4 Ways to Utilize Plain Nonfat Greek Yogurt

4 Ways to Utilize Plain Non-Fat Greek Yogurt

Happy June! For many, this is the beginning of warmer weather and lake days. But for us dietitians, we have our minds on June as National Dairy Month! It’s a time to celebrate dairy as the nutritional powerhouse that it is. Protein, calcium, Vitamin D, potassium, and Vitamin A are all packed into food items such as milk, yogurt, and cheese. And those are just a handful of the nutrients found in dairy! They benefit us humans in so many ways, from keeping our bones healthy to lowering the risk of high blood pressure.

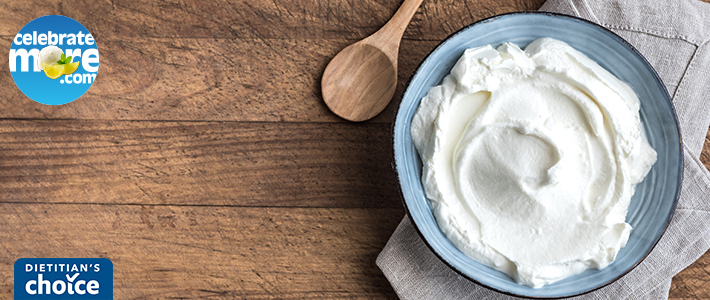
Plain nonfat Greek yogurt has become a must-have dairy staple in my home because it’s so versatile. Not only is it a protein-packed choice for daily dairy consumption, but it brings so many other dishes to life!

A New Spin on Ranch Dressing

Ranch dressing is hands down my favorite dipping sauce, for everything from pizza to vegetables. It’s delicious, but often not-so nutritious. The good news is – you can make your dipping sauce more nutrient-rich by whipping up your own ranch dressing using plain nonfat Greek yogurt! Check out the recipe Here. When comparing the nutrition labels of traditional Ranch dressing and non-fat plain Greek yogurt, the differences shine through immediately. The yogurt option contains significantly more protein, calcium, and potassium, while also being significantly lower in sodium and fat. Making it the more nutritious choice when it comes to dipping!

Better Baking

When you have an impromptu baking session, you don’t always have all the ingredients on hand. For me, it’s always been the milk that’s missing. Until one day, I experimented with the plain nonfat Greek yogurt that I did have on hand. And it turns out, the yogurt leaves you with a fluffier and moister baked good! Swap the milk in your recipe for the exact same amount of yogurt – you’ll be surprised at the difference such a small change can make.

Quick and Easy Bagels

Want to have fresh bagels, but don’t have the time to wait for your dough to rise? Greek yogurt can fix that! You can make bagels from scratch, no yeast needed. With this recipe, bagels can be put together in as little as 45 minutes from start to finish. And the most exciting part is that the opportunities are endless when it comes to toppings! Try sesame seeds, everything bagel seasoning, or even mixing fresh or frozen blueberries into the dough for a sweeter taste.

Make it sweet

So, now that you’ve seen these creative ways to utilize plain nonfat Greek yogurt in your day to day, you may be thinking: I have non-fat plain Greek yogurt in my fridge – what if I want a sweet treat? The beauty of plain nonfat Greek yogurt is that you can make it your own! My personal favorite way to liven up my yogurt is to add a dash of vanilla and honey. The natural sugars in the honey bring it to life, especially with a touch of vanilla! Berries and granola on top make for a filling and delicious snack.

Next time you’re in the refrigerated section seeking out Greek yogurt, keep an eye out for out  the “Dietitian’s Choice” label. Not all dairy is created equal, and this label tells you that our Coborn’s Dietitian Team has identified the food as a better for you choice. These dairy items are lower in added sugars and saturated fats than the full fat or sweetened versions. Consider trying a new way of including dairy in your meals this National Dairy Month!

– Jess, MPPD, RDN, LD
Ask A Dietitian

Confetti Quesadillas

Recipe Difficulty: Medium
Oven: No
Stovetop: Yes
Knife: Yes


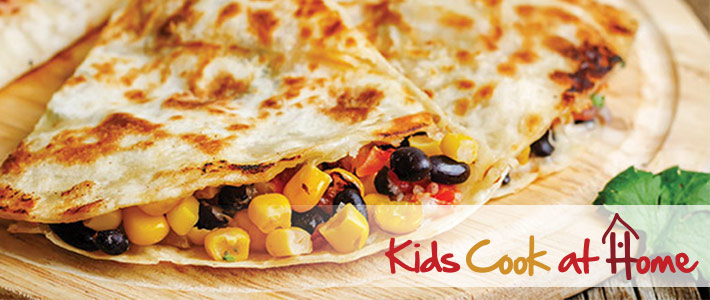
These confetti quesadillas are perfect for a quick lunch or dinner option for the family. So many great pantry staples such as canned beans, and frozen or canned vegetables can be used in this recipe. 

Supplies Needed
- Can Opener
- Measuring Cups
- Measuring Spoons
- Spatula
- Pan
- Pizza Cutter
-Paring Knife